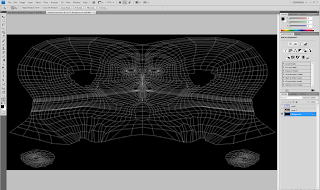
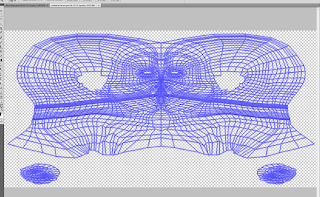
 this part i used photoshop, i opened the rendered imaging, i then opened a new layer, and coloured the background blue, i then wen back to teh background and pressed ctrl+a followed by ctrl+c, and then back to teh new layer turned on "quick mask mode" on teh blue layer, i then pressed ctrl+v
this then turned the background red/pink but the white lines had been highlighted. i then right clicked the layer and pressed apply, thelayer changed so that the background was blue again, but the white lines had still been high lighted.
i then changed the size of the lines.
The final result is a blue guide from whihc will help us create the material for the face.

No comments:
Post a Comment