 i almost forgot to talk about my eyes, i used the original image, and took my own eyes, i then turned theis into a material and added it to my eyes.
Thursday, 21 October 2010


 The next step is to create a bump for my skin, this will give it the effect or texture, and unflatten it.
to get this effect, i first went back tophotophop and opened by skin again, i then made a new layer, i changed the background to grey, i then went to filter, other, and then high pass.
this will give the bumpy effect, however there will be outlines along the edges, to counter this, use the stamp tool and remove the boarder.
once this was done, i went back to 3ds max and added this to my bump material.


 i reopened my original photo of myself in 2 views, and begun making my face.
this took me 2 attemps, the first time, i used the hair aswell, however i didn't like the end result, as my hair isn't flat and it looked nothing like me.
The second attemp i left myself bald, and intended to add hair later using a hair and fur tool on 3ds max.
 this part i used photoshop, i opened the rendered imaging, i then opened a new layer, and coloured the background blue, i then wen back to teh background and pressed ctrl+a followed by ctrl+c, and then back to teh new layer turned on "quick mask mode" on teh blue layer, i then pressed ctrl+v
this then turned the background red/pink but the white lines had been highlighted. i then right clicked the layer and pressed apply, thelayer changed so that the background was blue again, but the white lines had still been high lighted.
i then changed the size of the lines.
The final result is a blue guide from whihc will help us create the material for the face.

 once the two part are welded together, i needed to change the size of the background to make it twice as wide, and then scaled the images to fit.
i then wen back up to "tools" and pressed Render UVW template, and changed the width from 1024 to 2048, i then pressed render template, and this is the result.

 The next stage of this is to close the "Unwrap UVW" and activate the symmetry again, this time, reopen the "unwrap UVW: above the symmetry, this time it will effect both half's of the model.
again click edit, select polygon at the bottom, and "select element" then click the picture, both halves of the model will be ontop of eachother, so it took me a few attemps before i was able to click on the other half. but once i had done so, i click the "mirror" option, and moved it so that it was almost touching the other side, face to face.
i then did the same with the ear.
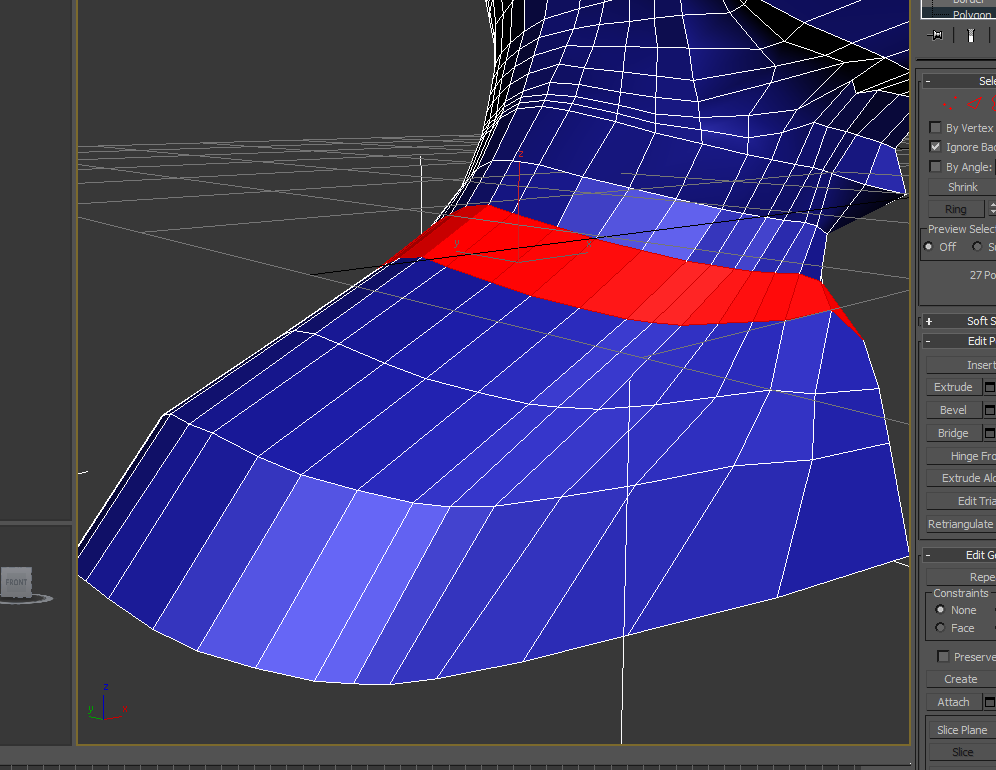
the next step is to weld both parts of the model together, i did this by selecting the 2 vertex's and pressing ctrl+W
when this is done, the green line down the middle will be gone and the two halfs are now one solid part.
 with the ear, first i needed to select it, after doing this i clicked on "planar" it is next to the "cylindrical" option i pressed before.
after this, i had to press "fit" and "align X" this produced a square around the ear.
i then clicked "pelt", and the following image apears.
this will basically pull the polygons apart, until it is a flat shape.
to start with, i selected the vertex in teh circle around my ear, and then scaled them rough until it was 2x the size, i then increased the "simulation samples to around 15 and pressed "start pelt"
the result is teh ear being pulled in every direction until it is flatterned.
 as it stands, the image is massive, so i selected it all and scaled it down so that it the right size.

 once the cylindrical shape has been put over the model, the next thing to do is press "edit"
once this has been pressed, the following bow will apear.
the highlighted area has been turned into a square shape, meaning some polygon have been squashed and other stretched.
first i needed to have only the head (high lighted) i then pressed the small triangle next to the ID box, this removed the ear.
from here i selected Tools... Relax
from here there was 3 option, relax by face angles, edge angles and centre, each having a different effect.
to start with, i went around the top of the head and presed the "edge angles" option, and then pressed apply, this slightly rounded out the head, so that it matched the shape of my model, pressing the "apply" button several times gives a greater effect.

 i needed to do the material for the head and ear seperate, as the ear is very complicated.
to start with, above "editable poly" i clicked on the modifier list and found "unwrap UVW" i then selected face mode.
i then highlighted the whole head, apart from the ear, which will be done differently.
i then scrolled down and selected "cylindrical"
this then produces a cylindrical shape around my head, using the scale tool, i enlarged the shape so that it enveloped my whole head, i then closed "Symmetry" so i had only half a head.

 before jumping right into teh deep end with the materials, i wanted to see what areas of the model would be stretched, so i pressed "M" whihc opened the material box, i then pressed the small box next to where it says "diffuse" i then clicked "checker"
i then clicked and dragged the circle with checkard patten onto my model.
with this, i saw there was alot of stretching around the shoulders and ontop of the head.
all the parts had now been completely, and before i start with the materials, i had to be 100% sure my model was complete, as any alteration after this point would result in the material not fitting properly.
i went around each part of the head and did some "fine tunning".
once i was happy wqith it, i moved onto the materials.
i went around each part of the head and did some "fine tunning".
once i was happy wqith it, i moved onto the materials.


 the next part of my head i needed to model was my ears, to do this i used the side view photo plane, i had to produce more topology drawing, but this time of the ear alone, using these lines i created the shape, made from several flap polygon's, then, using the front view photo plane, i pulled out the vertex's, the ear was basically created the same way as the face.
 when i turn symmetry back on, this is the result, i found that parts of the neck didn't meert in the middle, to solve this, i selected the edges all around the face, and pressed the "Y" next to were it says "make planar" this aligns all the edge in the Y axes, becasue the majority of the edges were already in the correct place, the few that wasn't were pulled into the right place.
this image has been turbosmoothed.

 i then finished joining the neck to the face.
after i did this, i realised i hadn't welded the new vertex's to eachother, so if i moved it would break apart.
i found it easy to find these parts when i used turbosmooth, the vertex's that were not joined produced a line on the head. once the vertex's were welded the line dissapeared to give a smooth finish.
most of these issues accured with the side of the neck and around the edge of the face. as this is where all the new polygons were created.

 i found this part quite tricky as i didn't know where to start to produce the front of the neck.
i started by selecting edge mode, clicking the corner edge of the neck, and then copying it several time until it was in the correct place, i used the photo planes for this.
i then positioned it so that it was the correct shape of my neck.
i then copied the polygon down that i used to join the back of the neck and the face, to where it meets the new part of the neck.

 i then begun to bridge the gap between the back of the neck and the face, i did this by selecting polygon, create, i then joined produced several long thin polygon, and then pressed the small box next to connect.
in the option, i selected 5 for the number of lines, this then split the long polygon into several smaller polygon.
i had to keep in mind that these will be joined to the top of the head, where the ear will go.
 as stated in teh previous post, the next step is to create the neck, i did this by clicking on the "edge" option, selecting one of the edge of the sphere, clicking "loop" and then select move.
i then held shift and moved the new polygon into the correct place, keeping in mind that they will be joined to the face at some point.


 with the nostril, i selected the edges around the gap, and then helm shift and scaled them, this produced new polygons, i did this once more to give a small hole. then, selecting the polygon mode, clicked create, and then filled in the new hole.
i then clicked the extrude button and pushed the new polygon inwards to create the inside of the nostril.
 i changed the colour to blue and i found it easier to see the edges of each polygon. i then selected "edge" under the modify panel, then slected all the edges along the top lip, clicked the move tool and helm shift, i then moved it downwards, i did this 3 times and then moved them around and welded the new vertex's the the corner of the mouth.
The bottom lip has already been done.


 once all the polygon had been drawn in, i then right clicked on the shapes and selected "convert to editable poly" and then in the midify panel, clicked attached and selected all the other shapes on the list, this then turned them all into a solid polygon. i found i needed to add more polygon's as areas like the eye were difficult to do with large polygons.


Subscribe to:
Comments (Atom)