 This is the skin material attached to my model, all that is left to do is give the skin texture and shine.
and then add hair.
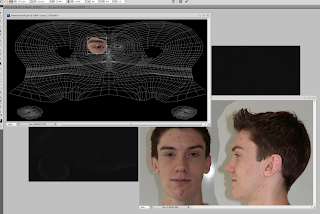 i reopened my original photo of myself in 2 views, and begun making my face.
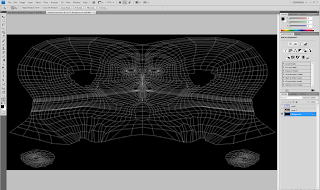 this part i used photoshop, i opened the rendered imaging, i then opened a new layer, and coloured the background blue, i then wen back to teh background and pressed ctrl+a followed by ctrl+c, and then back to teh new layer turned on "quick mask mode" on teh blue layer, i then pressed ctrl+v
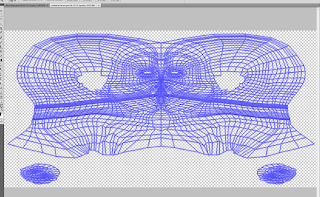
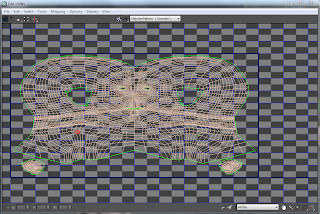 once the two part are welded together, i needed to change the size of the background to make it twice as wide, and then scaled the images to fit.
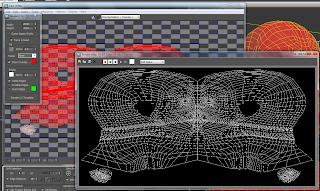
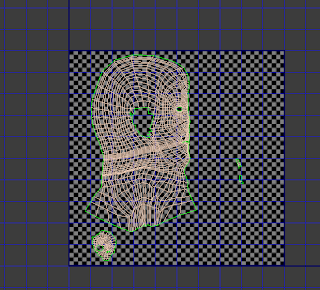 The next stage of this is to close the "Unwrap UVW" and activate the symmetry again, this time, reopen the "unwrap UVW: above the symmetry, this time it will effect both half's of the model.
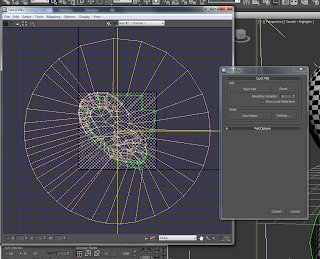 with the ear, first i needed to select it, after doing this i clicked on "planar" it is next to the "cylindrical" option i pressed before.
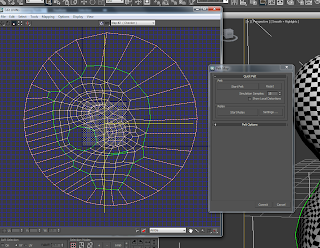 as it stands, the image is massive, so i selected it all and scaled it down so that it the right size.